Создание пользовательских компонент для bootstrap 4
Содержание:
- Centered Tabs and Pills
- Collapsing The Navigation Bar
- Right-Aligned Navigation Bar
- Via data-* Attributes
- More Examples
- Usage
- Images
- Bootsrap 4 использует Babel 6 а плагин BsMultiSelect Babel 7
- Navigation Bar With Dropdown
- Toggleable / Dynamic Pills
- Complete Bootstrap Navigation Reference
- Tabs
- How To Create a Toggle Switch
- Примеры
Centered Tabs and Pills
To center/justify the tabs and pills, use the class.
Note that on screens that are smaller than 768px, the list items are stacked
(content will remain centered):
Example
<!— Centered Tabs —><ul class=»nav nav-tabs nav-justified»> <li class=»active»><a href=»#»>Home</a></li> <li><a href=»#»>Menu 1</a></li> <li><a href=»#»>Menu 2</a></li> <li><a href=»#»>Menu 3</a></li></ul><!— Centered Pills —><ul class=»nav nav-pills nav-justified»> <li class=»active»><a href=»#»>Home</a></li> <li><a href=»#»>Menu 1</a></li> <li><a href=»#»>Menu 2</a></li> <li><a href=»#»>Menu 3</a></li></ul>
The navigation bar often takes up too much space on a small screen.
We should hide the navigation bar; and only show it when it is needed.
In the following example the navigation bar is replaced by a button
in the top right corner. Only when the button is clicked, the navigation bar will be
displayed:
Example
<nav class=»navbar navbar-inverse»> <div class=»container-fluid»> <div class=»navbar-header»> <button type=»button» class=»navbar-toggle» data-toggle=»collapse» data-target=»#myNavbar»> <span class=»icon-bar»></span> <span class=»icon-bar»></span> <span class=»icon-bar»></span> </button> <a class=»navbar-brand» href=»#»>WebSiteName</a> </div> <div class=»collapse navbar-collapse» id=»myNavbar»> <ul class=»nav navbar-nav»> <li class=»active»><a href=»#»>Home</a></li> <li><a href=»#»>Page 1</a></li> <li><a href=»#»>Page 2</a></li> <li><a href=»#»>Page 3</a></li> </ul> <ul class=»nav navbar-nav navbar-right»> <li><a href=»#»><span class=»glyphicon glyphicon-user»></span> Sign Up</a></li> <li><a href=»#»><span class=»glyphicon glyphicon-log-in»></span> Login</a></li> </ul> </div> </div></nav>
WebSiteName
- Home
- Page 1
- Page 2
- Sign Up
- Login
The class is used to right-align navigation bar buttons.
In the following example we insert a «Sign Up» button and a «Login» button to
the right in the navigation bar. We also add a glyphicon on each of the two new
buttons:
Example
<nav class=»navbar navbar-inverse»>
<div class=»container-fluid»>
<div class=»navbar-header»>
<a class=»navbar-brand» href=»#»>WebSiteName</a>
</div>
<ul class=»nav navbar-nav»>
<li class=»active»><a href=»#»>Home</a></li>
<li><a href=»#»>Page 1</a></li>
<li><a href=»#»>Page 2</a></li>
</ul>
<ul class=»nav navbar-nav navbar-right»>
<li><a href=»#»><span class=»glyphicon glyphicon-user»></span> Sign Up</a></li>
<li><a href=»#»><span class=»glyphicon glyphicon-log-in»></span> Login</a></li>
</ul> </div></nav>
Via data-* Attributes
Just add data-toggle=»collapse» and a data-target to element to automatically
assign control of a collapsible element. The data-target attribute accepts a CSS
selector to apply the collapse to. Be sure to add the class collapse to the
collapsible element. If you’d like it to default open, add the additional class
in.
Example
<button class=»btn» data-toggle=»collapse» data-target=»#demo»>Collapsible</button><div id=»demo» class=»collapse»>Some text..</div>
Tip: To add accordion-like group management to a collapsible control, add the data
attribute data-parent=»#selector».
More Examples
Example
/* CSS: */<style>.caret.caret-up { border-top-width: 0; border-bottom: 4px solid #fff;
}</style>/* JS: */<script>$(document).ready(function(){ $(«.dropdown»).on(«hide.bs.dropdown», function(){ $(«.btn»).html(‘Dropdown <span class=»caret»></span>’); }); $(«.dropdown»).on(«show.bs.dropdown», function(){ $(«.btn»).html(‘Dropdown <span class=»caret caret-up»></span>’); });});</script>
Example
<nav class=»navbar navbar-inverse»> <div class=»container-fluid»> <div class=»navbar-header»> <a class=»navbar-brand» href=»#»>WebSiteName</a> </div> <div> <ul class=»nav navbar-nav»> <li class=»active»><a href=»#»>Home</a></li> <li class=»dropdown»> <a class=»dropdown-toggle» data-toggle=»dropdown» href=»#»>Page 1 <span class=»caret»></span></a> <ul class=»dropdown-menu»> <li><a href=»#»>Page 1-1</a></li> <li><a href=»#»>Page 1-2</a></li> <li><a href=»#»>Page 1-3</a></li> </ul> </li> <li><a href=»#»>Page 2</a></li> <li><a href=»#»>Page 3</a></li> </ul> </div> </div></nav>
The following example adds a dropdown menu with a login form in the navbar:
Example
<ul class=»nav navbar-nav navbar-right»> <li class=»dropdown»> <a class=»dropdown-toggle» data-toggle=»dropdown» href=»#»>Login <span class=»glyphicon glyphicon-log-in»></span></a> <div class=»dropdown-menu»> <form id=»formlogin» class=»form container-fluid»> <div class=»form-group»> <label for=»usr»>Name:</label> <input type=»text» class=»form-control» id=»usr»> </div> <div class=»form-group»> <label for=»pwd»>Password:</label> <input type=»password» class=»form-control» id=»pwd»> </div> <button type=»button» id=»btnLogin» class=»btn btn-block»>Login</button> </form> <div class=»container-fluid»> <a class=»small» href=»#»>Forgot password?</a> </div> </div> </li></ul>
Example
<script>
$(document).ready(function(){ $(‘.dropdown-submenu a.test’).on(«click», function(e){ $(this).next(‘ul’).toggle(); e.stopPropagation(); e.preventDefault(); });
});</script>
In this example, we have created a custom class for multi-level dropdowns:
Usage
Simply add to convert checkboxes into toggles.
<input type="checkbox" checked data-toggle="toggle">
Stacked checkboxes
Refer to Bootstrap Form Controls documentation to create stacked checkboxes. Simply add to convert checkboxes into toggles.
<div class="checkbox">
  <label>
    <input type="checkbox" data-toggle="toggle">
    Option one is enabled
  </label>
</div>
<div class="checkbox disabled">
  <label>
    <input type="checkbox" disabled data-toggle="toggle">
    Option two is disabled
  </label>
</div>
Inline Checkboxes
Refer to Bootstrap Form Controls documentation to create inline checkboxes. Simply add to a convert checkboxes into toggles.
<label class="checkbox-inline">
  <input type="checkbox" checked data-toggle="toggle"> First
</label>
<label class="checkbox-inline">
  <input type="checkbox" data-toggle="toggle"> Second
</label>
<label class="checkbox-inline">
  <input type="checkbox" data-toggle="toggle"> Third
</label>
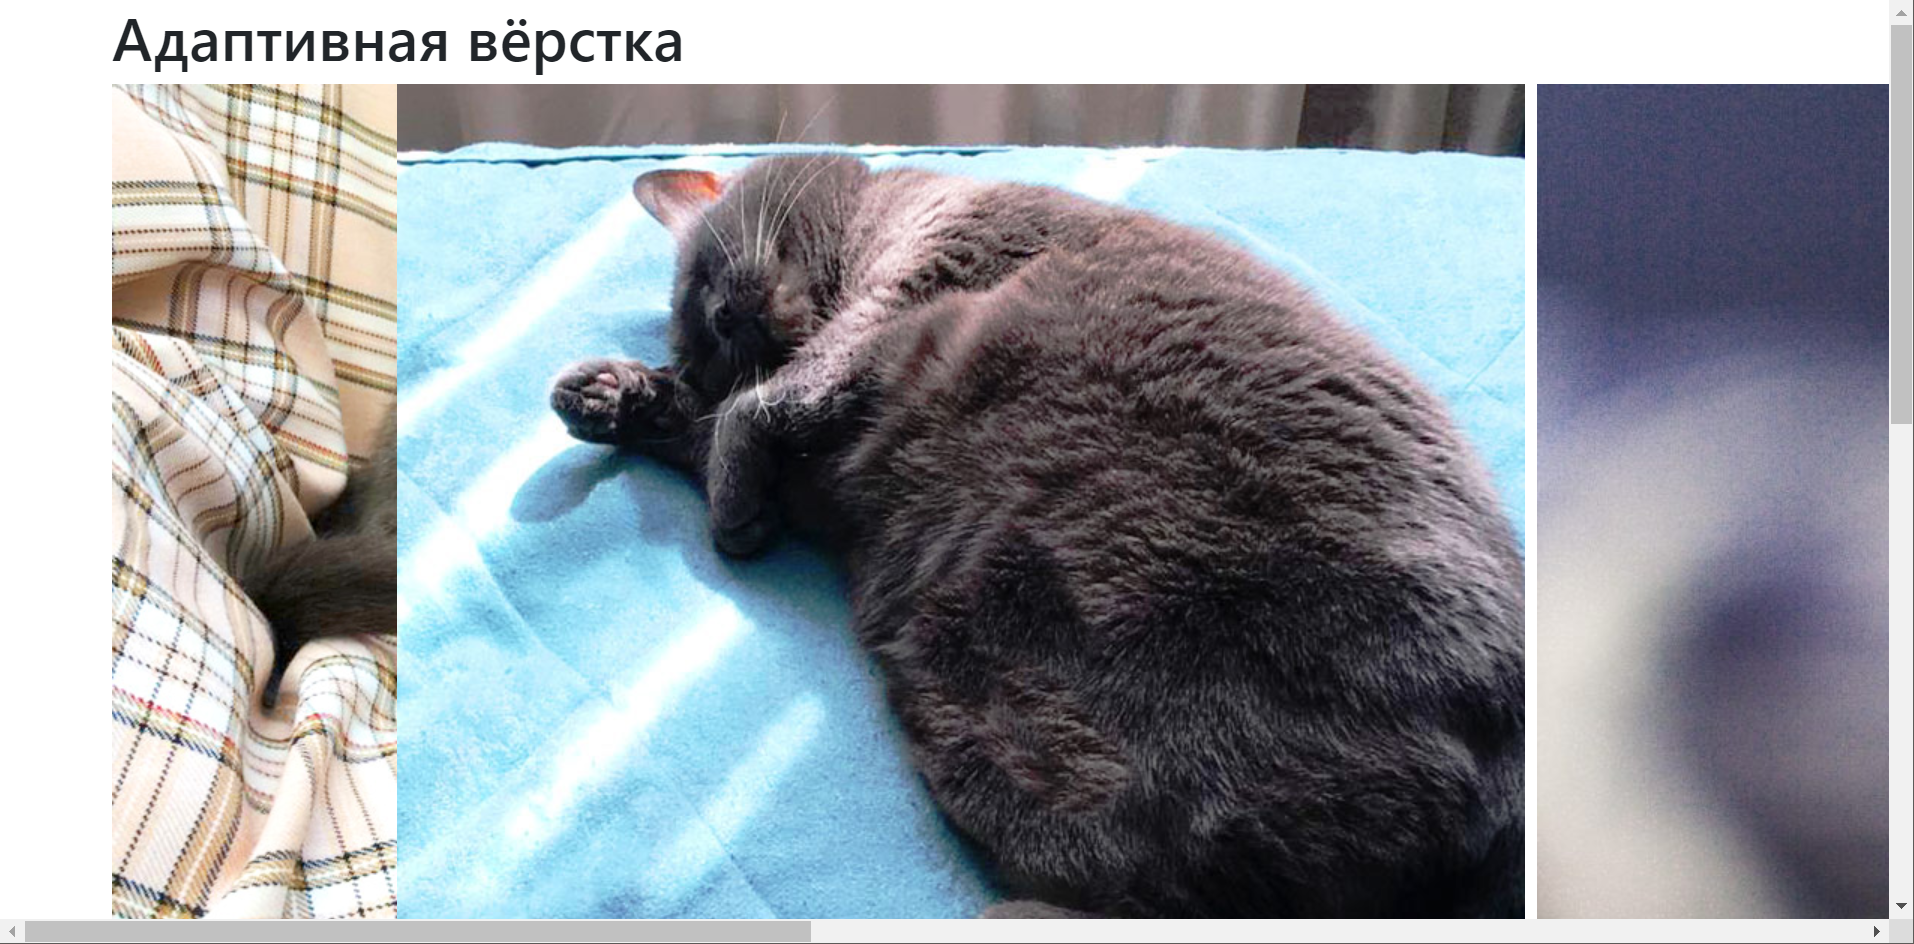
Images
SlideshowSlideshow GalleryModal ImagesLightboxResponsive Image GridImage GridTab GalleryImage Overlay FadeImage Overlay SlideImage Overlay ZoomImage Overlay TitleImage Overlay IconImage EffectsBlack and White ImageImage TextImage Text BlocksTransparent Image TextFull Page ImageForm on ImageHero ImageBlur Background ImageChange Bg on ScrollSide-by-Side ImagesRounded ImagesAvatar ImagesResponsive ImagesCenter ImagesThumbnailsBorder Around ImageMeet the TeamSticky ImageFlip an ImageShake an ImagePortfolio GalleryPortfolio with FilteringImage ZoomImage Magnifier GlassImage Comparison Slider
Bootsrap 4 использует Babel 6 а плагин BsMultiSelect Babel 7
BsMultiSelect легко мигрировал на бету Babel 7 при помощи обновленного rollup-babel-plugin’а (тоже в бетте). На Babel 7 стоит переезжать уже сейчас из за нового (конфигурации транспилера «на каких броузерах будет запускаться код»). Разобраться при помощи только интернета как работают в ES6 preset’ы стало довольно сложно, они прошли длинную эволюцию скопилось множество устаревших конфигураций. Проще сразу ставить бету Babel 7 +
Все же, ошибок беты babel’я долго ждать не пришлось: было танспилено в nodeList.concat(). Долго не разбирался, перевод кода в вызовы jquery (это все равно обязательно, но об этом далее) решило проблемы. Спросите: «Зачем тогда вообще Babel если с ним не разбираться?», ответ: «импорты и лямбда».
WebSiteName
- Home
-
Page 1
- Page 1-1
- Page 1-2
- Page 1-3
- Page 2
- Page 3
Navigation bars can also hold dropdown menus.
The following example adds a dropdown menu for the «Page 1»
button:
Example
<nav class=»navbar navbar-inverse»>
<div class=»container-fluid»>
<div class=»navbar-header»>
<a class=»navbar-brand» href=»#»>WebSiteName</a> </div>
<ul class=»nav navbar-nav»>
<li class=»active»><a href=»#»>Home</a></li>
<li class=»dropdown»>
<a class=»dropdown-toggle» data-toggle=»dropdown» href=»#»>Page 1
<span class=»caret»></span></a>
<ul class=»dropdown-menu»>
<li><a href=»#»>Page 1-1</a></li>
<li><a href=»#»>Page 1-2</a></li>
<li><a href=»#»>Page 1-3</a></li>
</ul> </li>
<li><a href=»#»>Page 2</a></li>
<li><a href=»#»>Page 3</a></li>
</ul>
</div>
</nav>
Toggleable / Dynamic Pills
The same code applies to pills; only change the data-toggle
attribute to :
Example
<ul class=»nav nav-pills»> <li class=»active»><a data-toggle=»pill» href=»#home»>Home</a></li> <li><a data-toggle=»pill» href=»#menu1″>Menu 1</a></li> <li><a data-toggle=»pill» href=»#menu2″>Menu 2</a></li>
</ul><div class=»tab-content»> <div id=»home» class=»tab-pane fade in active»> <h3>HOME</h3> <p>Some content.</p> </div> <div id=»menu1″ class=»tab-pane fade»> <h3>Menu 1</h3> <p>Some content in menu 1.</p> </div> <div id=»menu2″ class=»tab-pane fade»> <h3>Menu 2</h3> <p>Some content in menu 2.</p> </div></div>
For a complete reference of all navigation classes, go to our complete
Bootstrap Navigation Reference.
For a complete reference of all tab options, methods and events, go to our
Bootstrap JS Tab Reference.
❮ Previous
Next ❯
Tabs
Tabs are created with :
Tip: Also mark the current page with .
The following example creates navigation tabs:
Example
<ul class=»nav nav-tabs»> <li class=»active»><a href=»#»>Home</a></li> <li><a href=»#»>Menu 1</a></li> <li><a href=»#»>Menu 2</a></li> <li><a href=»#»>Menu 3</a></li></ul>
Tabs can also hold dropdown menus.
The following example adds a dropdown menu to «Menu 1»:
Example
<ul class=»nav nav-tabs»> <li class=»active»><a href=»#»>Home</a></li> <li class=»dropdown»> <a class=»dropdown-toggle» data-toggle=»dropdown» href=»#»>Menu 1 <span class=»caret»></span></a> <ul class=»dropdown-menu»> <li><a href=»#»>Submenu 1-1</a></li> <li><a href=»#»>Submenu 1-2</a></li> <li><a href=»#»>Submenu 1-3</a></li> </ul> </li> <li><a href=»#»>Menu 2</a></li> <li><a href=»#»>Menu 3</a></li></ul>
How To Create a Toggle Switch
Step 1) Add HTML:
<!— Rectangular switch —><label class=»switch»> <input type=»checkbox»> <span class=»slider»></span></label><!—
Rounded switch —><label class=»switch»> <input type=»checkbox»> <span class=»slider round»></span></label>
Step 2) Add CSS:
/* The switch — the box around the slider */.switch { position: relative; display: inline-block; width: 60px;
height: 34px;}/* Hide default HTML checkbox */.switch input
{ opacity: 0; width: 0; height: 0;}/* The slider */.slider { position: absolute; cursor:
pointer; top: 0; left: 0; right: 0; bottom: 0;
background-color: #ccc; -webkit-transition: .4s; transition: .4s;}.slider:before { position: absolute; content: «»; height: 26px;
width: 26px; left: 4px; bottom: 4px; background-color: white; -webkit-transition:
.4s; transition: .4s;}input:checked + .slider {
background-color: #2196F3;}input:focus + .slider {
box-shadow: 0 0 1px #2196F3;}input:checked + .slider:before { -webkit-transform:
translateX(26px); -ms-transform: translateX(26px); transform:
translateX(26px);}/* Rounded sliders */.slider.round {
border-radius: 34px;}.slider.round:before {
border-radius: 50%;}
Примеры
Наведите курсор на ссылки ниже, чтобы посмотреть подсказки:
Tight pants next level keffiyeh haven’t heard of them. Photo booth beard raw denim letterpress vegan messenger bag stumptown. Farm-to-table seitan, mcsweeney’s fixie sustainable quinoa 8-bit american apparel terry richardson vinyl chambray. Beard stumptown, cardigans banh mi lomo thundercats. Tofu biodiesel williamsburg marfa, four loko mcsweeney’s cleanse vegan chambray. A really ironic artisan , scenester farm-to-table banksy Austin freegan cred raw denim single-origin coffee viral.
Статические демо
Доступны четыре варианта: сверху, справа, снизу и выровнен по левому краю.
Tooltip on the top
Tooltip on the right
Tooltip on the left
Интерактивная демо-версия
Наведите курсор на подписи, чтобы увидеть подсказки.
Tooltip on top
Tooltip on right
Tooltip on bottom
Tooltip on left